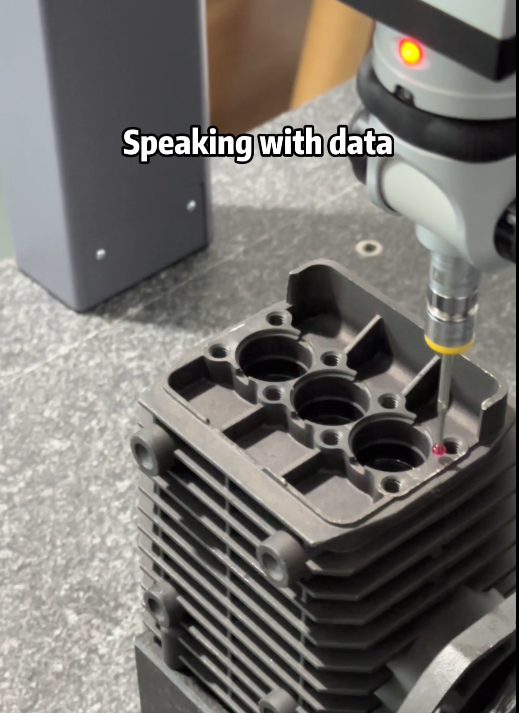
The application of 3D coordinate measurement in water pump
Three coordinate measuring machine (CMM) is used to inspect and measure the shape and position tolerances of workpieces. Determine whether the defect of the workpiece is within the tolerance range. It is also called three-coordinate measurement. With the Hyundai Motor industry and aerospace industry and mechanical processing industry by leaps and bounds. Three-coordinate detection has become a routine detection method. Coordinate measuring machines are no longer a luxury. In particular, some foreign-invested and multinational enterprises emphasize third-party certification. All manufactured products must provide a testing report from a qualified testing party. Therefore, three-coordinate inspection is becoming more and more important for the processing industry. CMM is sometimes used in reverse engineering. It is to collect and map the spatial geometry of an object as well as the three-dimensional data. Provide point data. The process of building 3D models again with softwar
The three-dimensional coordinate measurement technology is primarily used in the inspection of water pumps for high-precision measurements of dimensions, geometric tolerances, and complex curved surfaces. This technology is particularly suitable for the inspection of critical components such as impellers and casing. The specific application areas are as follows:
Impeller measurement
Hydraulic centerline positioning: The position of the hydraulic centerline of the impeller is precisely determined using a three-coordinate measuring instrument (such as the series of SIRIUS), which resolves the issue of processing deviations caused by traditional line-drawing methods, thereby enhancing hydraulic performance and reducing vibration noise.
1.Detection of threaded holes and concentricity: Utilize the PC-DMIS software to automatically scan the internal structure of the impeller, set up a reference point, and quickly complete the evaluation of threaded hole depth, pitch, and concentricity.
2.Detection of the casing and pump body
Measurement of the casing cover dimensions: The Kinse WM series portable three-dimensional measurement instrument can be operated by a single person, allowing for quick measurement of the maximum dimensions, thickness, and P.C.D. (pitch circle diameter of bolt holes) of the casing cover, thereby replacing traditional manual tools.
3.Parameter measurement of the pump body: The Croma Plus series measuring machine, combined with the PC-DMIS software, efficiently completes the high-precision detection of various parameters of the pump body (such as shape maps and topology maps) through offline programming and automatic path optimization.

Technological advantages
Efficiency: Offline programming and automated scanning reduce manual intervention, thereby improving measurement efficiency.
Stability: The machine coordinate system provides an absolute reference, ensuring consistency in measurement data.
Adaptability: Portable devices (such as the WM series) support field measurements, addressing challenges related to the handling of large workpieces.

